1 January 2021


1 January 2021
Here is how to prepare your gravel road before the tank arrives to apply dust suppressant.
Benefits of stabilization
Thoroughly cleaning ditches and repairing faulty culverts during the summer are essential to ensure runoff drains quickly and efficiently, instead of pooling on the road.
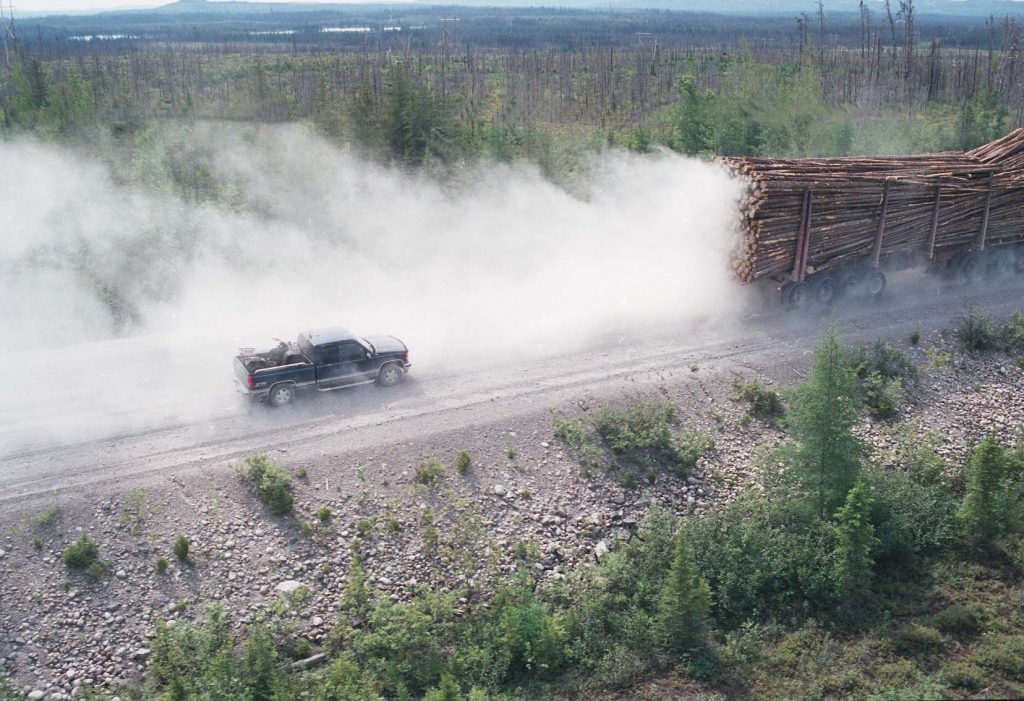
When it comes to applying dust suppressant, here are two good reasons not to neglect these steps: first, water that pools on the road will dilute the calcium chloride, significantly affecting its effectiveness. Second, product can be lost through runoff and splashing from cars. Rainwater on the road also promotes the formation of potholes and washboarding. In short, without this essential preparation work, it is best not to consider adding more gravel, because the road would then deteriorate very quickly.
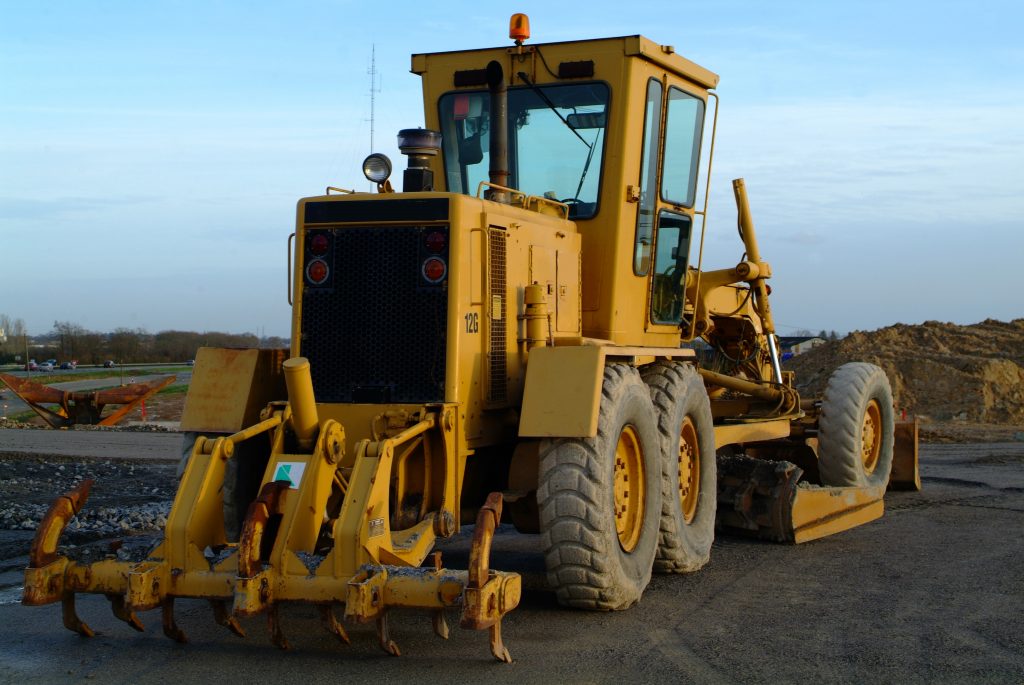
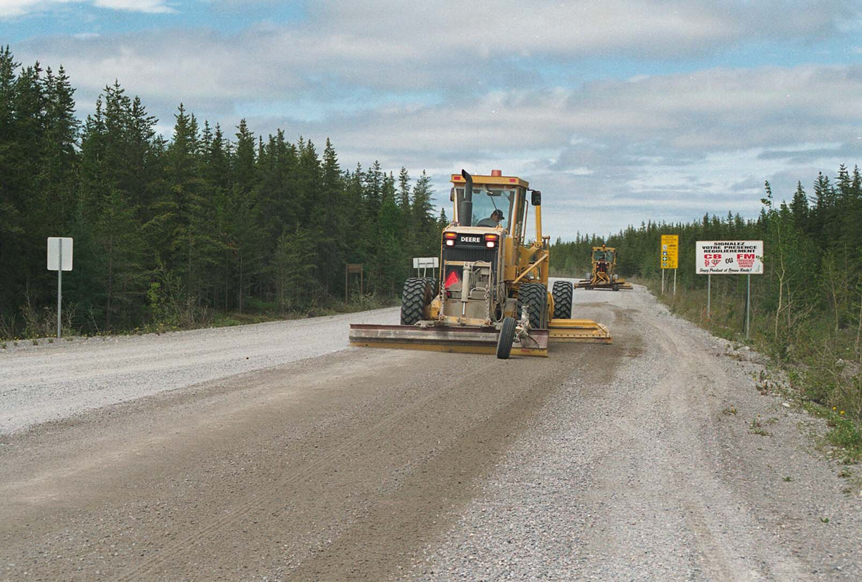
Use a grader to scarify the entire surface of the road. This step will help the new aggregate mix with the old and ensure better homogeneity of the granular material. It will also prevent the layers of gravel (old and new) from stratifying.
In addition, the best results are obtained when there is adequate penetration of the liquid dust suppressant. Penetration should be in the order of 10 to 20 millimeters [3/8 to 3/4 inch]. Good penetration minimizes loss of dust suppressant through surface runoff. It gives cohesion and ensures resistance to leaching and aging. If the product has penetrated well into the soil, its hygroscopic effect will be longer lasting.
Add new gravel to the entire surface of the road – ideally, a thickness of at least 20 cm of new gravel should be added. When laying the gravel, use the grader to create two small hems at the edge of either side of the road so that about half (10 cm) of the new gravel is kept in the center of the road. The purpose of this step is to ensure that all the new gravel is treated with calcium chloride.
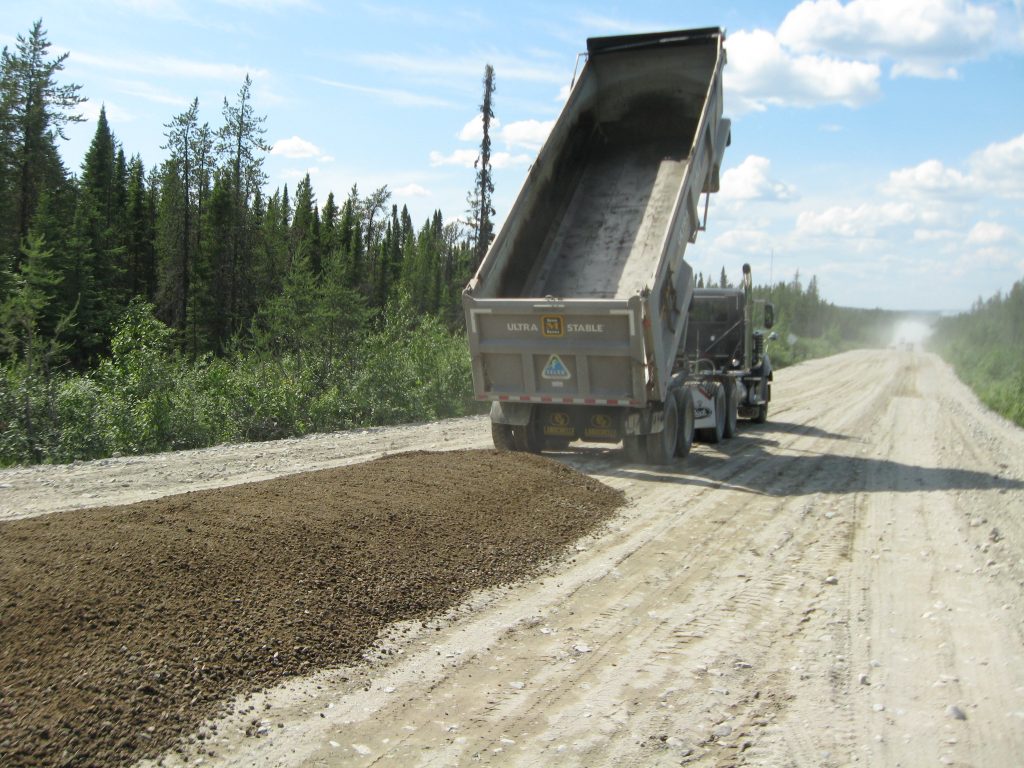
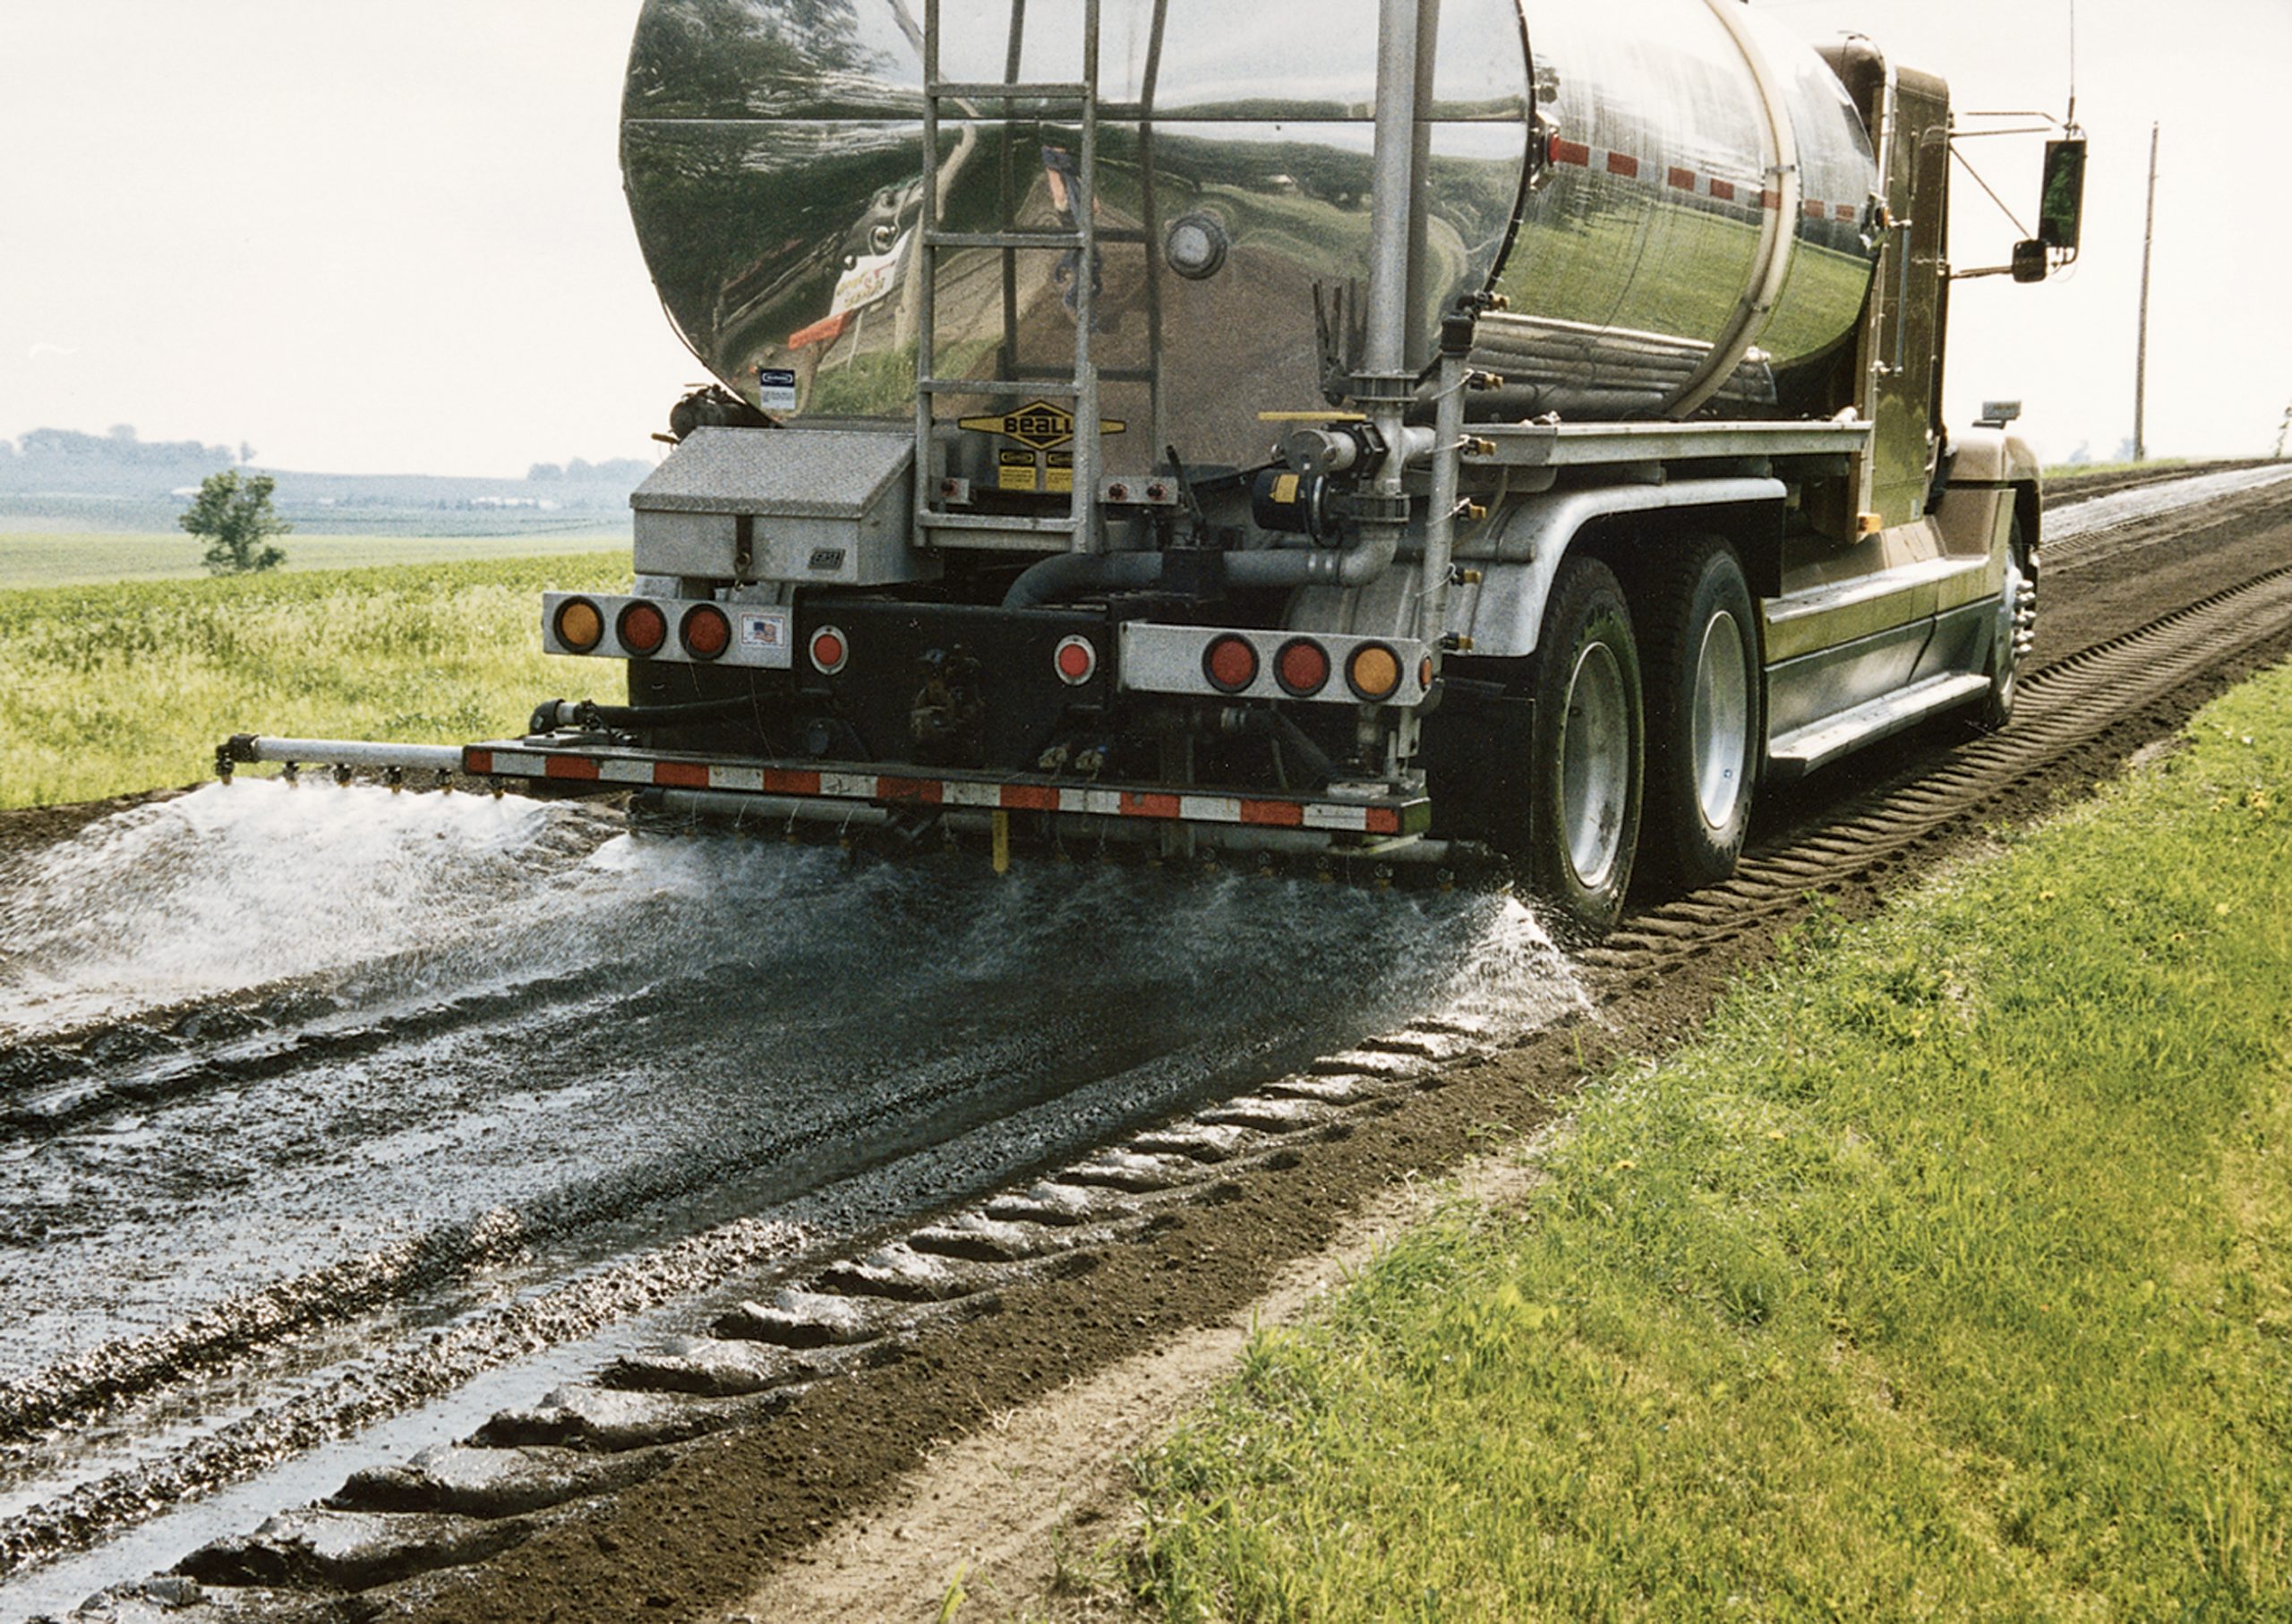
Spread the calcium chloride on the new gravel between the hems. Two thirds of the total volume should be applied at this stage.
About stabilization using flake calcium chloride
When flake calcium chloride is used for stabilization, mixing the product directly into the gravel during crushing is recommended to ensure that the mixture is homogeneous. After laying the gravel and grading the road, sprinkling a bit of calcium chloride flakes on the surface and spraying it down to melt the flakes is highly recommended. Afterwards, continue with the two steps described below, Level and grade the road and Compact the road.
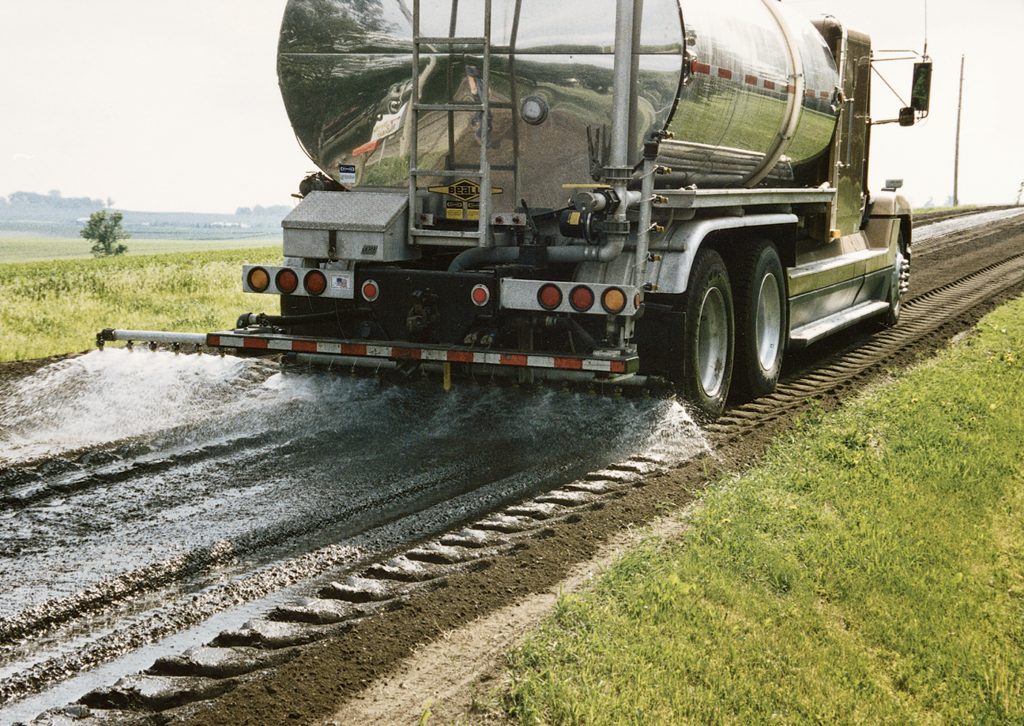
Level the entire road surface, taking care to remove the hems and evenly distribute the gravel across the road surface. Leveling should be done in such a way as to form a crown in the shape of a speed bump (or type A) from the center of the road to the edges. The cross slope from the center of the road to the shoulder should be at least 4%. As soon as the road profile is obtained, spread the rest of the liquid (the remaining third) over the entire road surface.
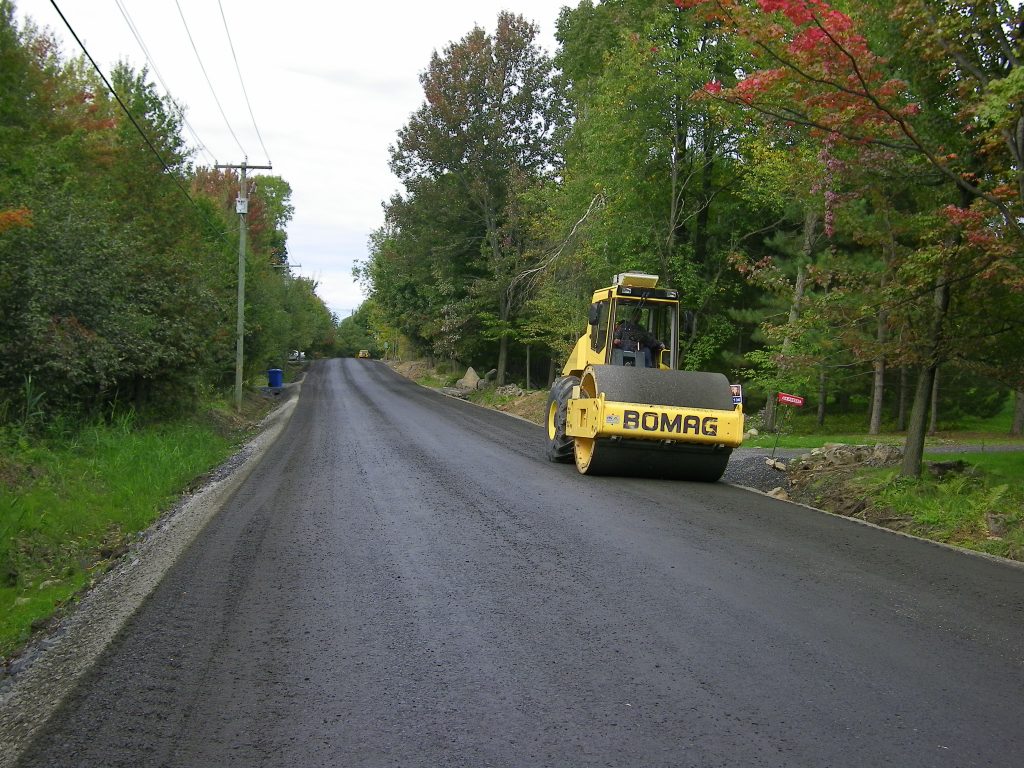
Once the liquid has penetrated the gravel, compact the surface using a roller compactor (pneumatic or steel roller). Be sure to reach optimum gravel density to avoid the formation of ruts from vehicle traffic.
As you can see, gravel roads need maintenance to extend their lifespan. The same goes for our customer base: we hope to keep you as long-term customers, and your complete satisfaction is our primary concern.
